Useful Links
Just Got Your GRLLR Kamado? Do These 5 Things Before You Cook a Single Thing
Welcome to the exciting world of grilling with your new GRLLR Kamado! This versatile cooker can transform your outdoor cooking experience. But before you load it with charcoal and start dreaming about brisket, take twenty minutes to do this properly. It'll make every cook better.
1. Unbox and Inspect It Like You Mean It
We know you want to get straight to the fire with your GRLLR kamado, whether you purchased the GRLLR Ember Classic Kamado or the GRLLR Ember Classic Kamado with Trolley. Resist... just for a moment.
Lay everything out and check you've got the full set: grill body, lid, cooking grates, charcoal tray, and any accessories. Kamados are precision instruments — every component matters, and you don't want to discover something's missing when you're halfway through a Saturday cook.
While you're at it, give everything a once-over for any cracks or damage from transit. It's rare, but it happens. If something doesn't look right, contact us before you fire it up — we're at hello@icecoldspice.com or 020 3740 1246 and we'll sort it quickly.
2. Read the Manual (We Know, We Know)
Nobody wants to hear this. Read it anyway.
The GRLLR manual is a proper guide to getting the most out of a piece of kit that behaves very differently from a regular BBQ. The assembly section matters more than you'd think; a grill that's been put together correctly will seal better, hold temperature better, and last significantly longer.
The safety section is worth your time too. Kamados get seriously hot, retain heat for a long time after cooking, and need to be treated accordingly — especially if you have children or pets around.
Twenty minutes now. Better cooks forever.
3. Season Your Kamado
Just like a cast iron skillet, your GRLLR Kamado needs to be seasoned before its first use. This process helps to protect the grill and improve the flavor of your food.
How to Season Your Kamado
To season your GRLLR Kamado, start by lighting a small fire using natural lump charcoal. Let it burn for about an hour. This step is crucial because it helps to cure the ceramic, making it more durable and ready for cooking. You’ll notice that the grill will start to develop a nice sheen, which is a good sign that it’s being seasoned properly.
Seasoning a kamado is simple, but it's worth doing properly. Here's how to get it right.
Start by loading a modest amount of natural lump charcoal into the firebox — you're not trying to cook anything, so there's no need to overload it. Light it using a firestarter or chimney starter and open the bottom vent to let it catch properly.
Once the charcoal is going, bring the temperature up gradually to around 150°C and hold it there. This is important — you're not trying to blast it with heat on the first run. Ceramic expands as it heats, and a slow, steady first burn lets it do that without stressing the material. Think of it less like firing up a grill and more like warming up an engine.
After about 30 minutes at 150°C, nudge the vents open slightly and allow the temperature to climb to around 200–220°C. Hold it there for another 30 minutes. As the ceramic heats through, you'll notice the interior walls starting to darken and develop a subtle sheen — that's the ceramic curing and any factory residue burning off cleanly. Both are exactly what you want to see.
Once the hour is up, close both vents down fully and let the kamado cool completely on its own. Never pour water on it to speed things up — the thermal shock can crack the ceramic. Patience here protects a serious investment.
After it's fully cooled, run your hand around the interior. The surface should feel slightly smoother than when it arrived. From this point on, every cook adds another layer — deepening the seasoning, improving heat retention, and gradually building the kind of character that makes food from a well-used kamado taste noticeably different from anything off a standard grill.
Importance of Seasoning
There's real science behind it, and skipping seasoning has genuine consequences for both your food and the longevity of your kamado.
1. A properly seasoned kamado will outlast an unseasoned one by years.
2. As the oils and fats from successive cooks polymerise onto the interior walls and cooking grates, they build up a natural non-stick coating — similar to what happens with a well-loved cast iron pan. You'll find yourself reaching for less oil over time. It won't happen overnight, but by your fifth or sixth cook you'll already notice the difference.
3. It builds flavour over time. This is the part that turns kamado owners into kamado evangelists. Every cook leaves something behind — wood smoke, rendered fat, caramelised juices — and over time these layers build into something that genuinely influences the flavour of everything that follows. It's subtle at first, but a kamado that's seen a hundred cooks produces food with a depth and complexity that's almost impossible to replicate on a new grill. Seasoning is where that process begins.
4. It tells you your grill is ready. There's also something to be said for the confidence that comes with a properly seasoned kamado. You know the ceramic has been stress-tested. You know the vents have been run through their range. You know there's nothing left to burn off. When you load it up for a proper cook, you're starting from a solid baseline — not crossing your fingers and hoping for the best.
4. Prepare Your Cooking Area
Setting up your cooking area is essential for a smooth grilling experience. When everything is within reach, you can focus on cooking delicious meals without any interruptions.
Gather Your Tools
Start by collecting all necessary tools such as tongs, spatulas, and a meat thermometer. Having the right tools ready will make cooking easier. For instance, a good meat thermometer ensures that your meats are cooked to the perfect temperature, keeping them juicy and safe to eat. You can find great options for grilling tools on our site.
Set Up Your Ingredients
Next, prepare your ingredients and have them ready to go. This includes marinating meats, chopping vegetables, and measuring spices. When everything is prepped, you won’t have to run around looking for items while your grill is hot. This not only saves time but also helps you stay organised.
By taking the time to set up your cooking area properly, you'll be able to enjoy the grilling process even more. Remember, a well-prepared chef is a happy chef! Now that you’re all set, it’s time to fire up your GRLLR Kamado and get cooking. Happy grilling!
5. Choose the Right Charcoal
The type of charcoal you use can significantly affect the flavor and cooking temperature of your food. Choosing the right charcoal is an important step in getting the best results from your GRLLR Kamado.
Types of Charcoal
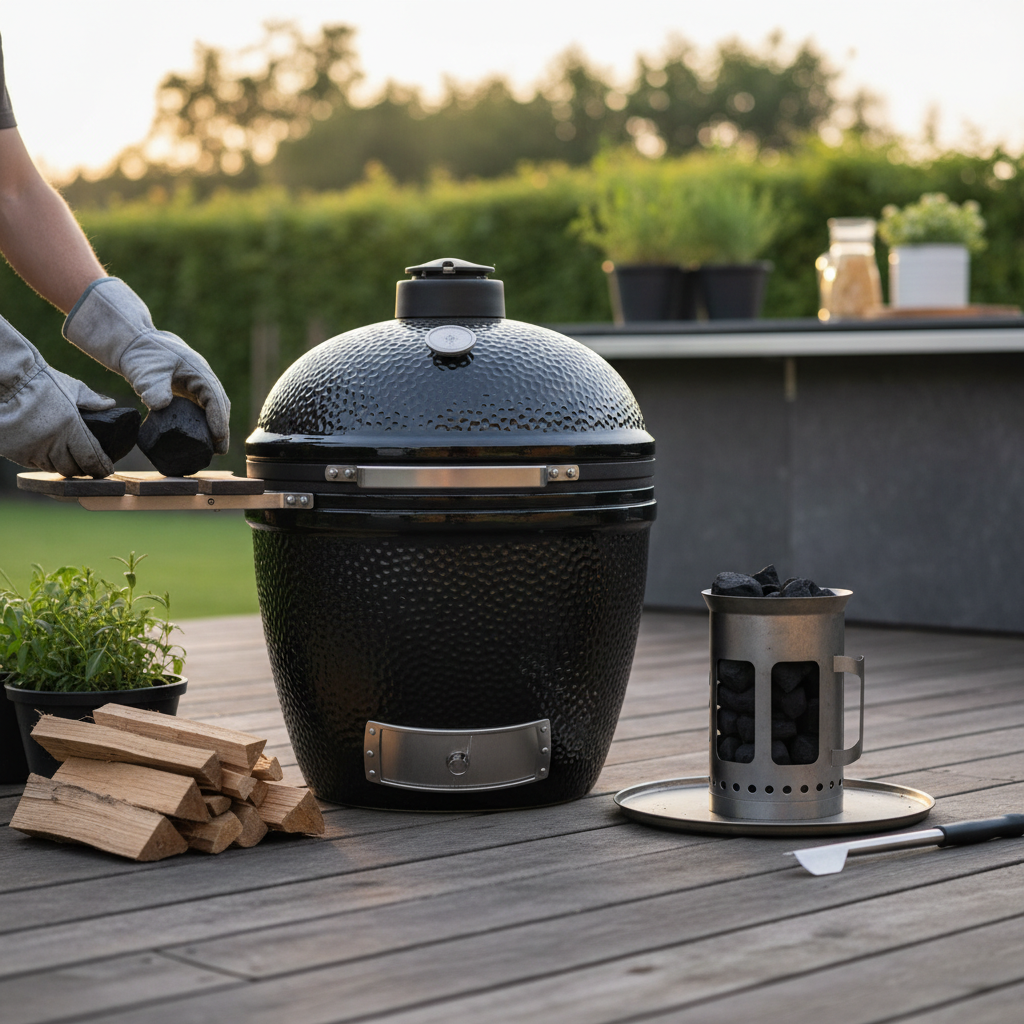
Natural lump charcoal is highly recommended for the GRLLR Kamado. It burns hotter and cleaner than briquettes, which means your food will cook better. Plus, it doesn’t contain the chemicals found in some briquettes that can alter the taste of your food. When you use natural lump charcoal, you’re getting a more authentic grilling experience.
Lighting the Charcoal
When it comes to lighting the charcoal, using a chimney starter is the easiest way to go. This method allows you to get your charcoal lit without the need for lighter fluid, which can impart unwanted flavors to your food. Simply fill the chimney with charcoal, light a fire starter underneath, and watch the charcoal ignite. In just a short time, you’ll have hot, glowing coals ready for grilling.
Conclusion
By following these five essential steps, you’ll be well on your way to mastering your GRLLR Kamado. From unboxing and inspecting your grill to choosing the right charcoal, each step is important for ensuring a great grilling experience.
-
Unbox and Inspect: Make sure everything is in good condition.
-
Read the Manual: Understanding how to assemble and operate your grill safely is key.
-
Season Your Kamado: Proper seasoning enhances flavor and creates a non-stick surface.
-
Prepare Your Cooking Area: Gather your tools and set up your ingredients for a smooth cooking process.
-
Choose the Right Charcoal: Natural lump charcoal will give you the best results, and using a chimney starter will make lighting easy.
Now that you’re equipped with all this knowledge, it’s time to fire up that GRLLR Kamado and start creating delicious meals! Enjoy the fun of grilling with family and friends, and make the most of your outdoor cooking adventures. Happy grilling!